“AI hasn’t replaced how we design — it’s changed where we spend our energy.”
At White Prompt, we’ve always loved experimenting with tools that make our work faster and more insightful — not just efficient, but smarter.When we started offering our “From Idea to MVP in 8 Weeks” service, the goal was clear: help startups go from concept to something real — a product they can actually test, show, and evolve.
As a Product Designer, I’ve learned that AI can’t replace design thinking — but it can extend it. What used to take months can now happen in days, as long as you know how to guide the process, ask the right questions, and connect the right tools.
Here’s how we did it.
Discovery
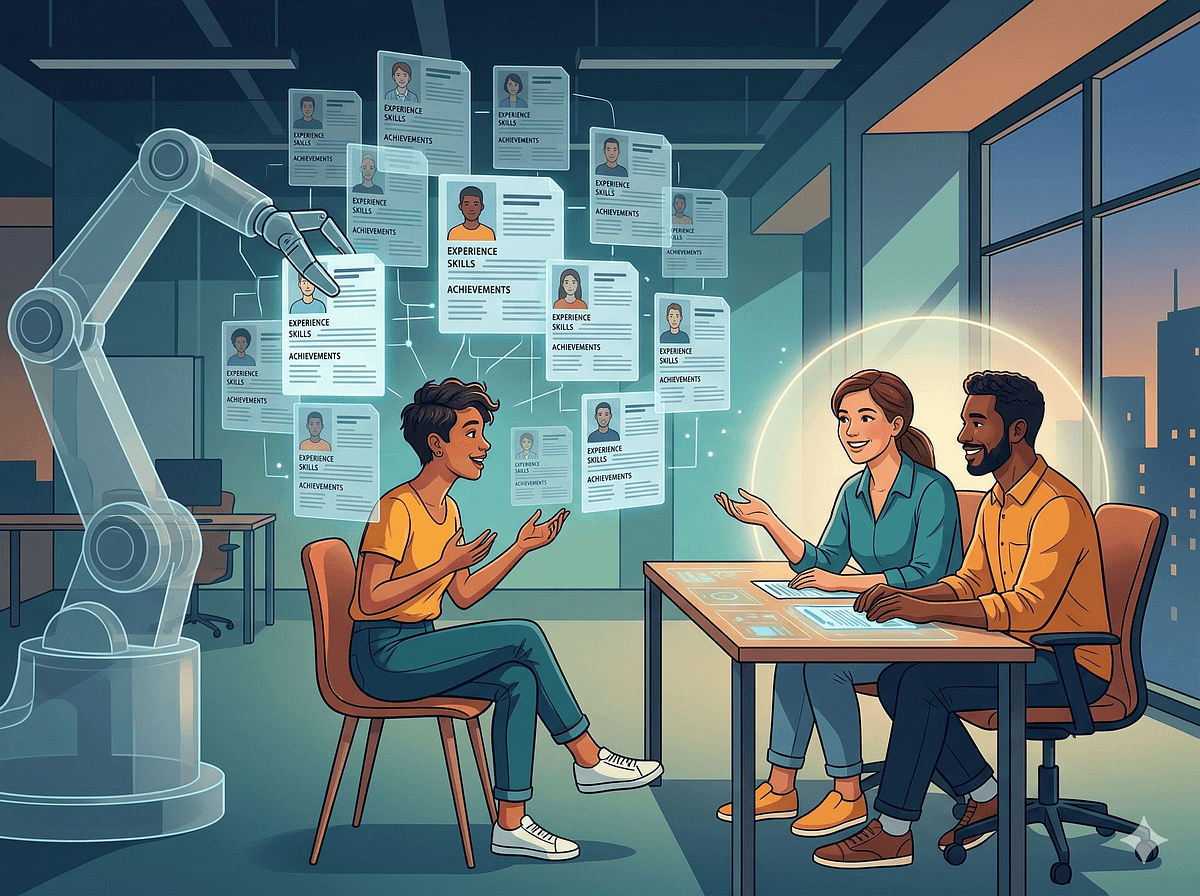
It all starts with listening.
We record every meeting with our clients — usually three sessions of about three hours each — and later transcribe them. Those transcriptions are essential, because they become part of the data we’ll feed into Claude in the next stage. That way, no detail, idea, or nuance from the conversation gets lost.
In this project, the client came with a clear goal: they wanted an MVP for a new product, fast. Along with our own research (functional analysis, user personas, architecture, and flow diagrams), we also received valuable material from their side: Low fidelity wireframes, branding guidelines, and examples of similar apps.
“Recording and transcribing the meetings ensures nothing is lost — every idea becomes part of the design’s foundation.”
This phase is all about turning conversations into understanding — transforming intuition into structure.
PRD and PRD Split
Once the discovery is complete, everything goes into Claude to create a solid PRD (Product Requirements Document). We upload all the context gathered — transcripts, flows, user needs, business goals, and visual references.
The key here is to split the PRD into smaller parts before uploading. Large systems can easily get overwhelmed, so keeping things modular makes iteration smoother and feedback loops shorter.
By the end of this phase, we have a structured PRD — a single source of truth that everyone (designers, developers, and the client) can align around.
Bolt, V0, or Lovable
With the PRD ready, we move to the next stage: transforming requirements into an interactive prototype.
We experiment with different tools like Bolt, V0, and Lovable — all using similar underlying models. Interestingly, feeding them the same PRD produces similar outputs, though each tool adds its own flavor.
In this project, the final prototype ended up being a mix of the three.The result: a functional, clickable prototype that represents the MVP’s core flow and logic — not just static screens, but something you can actually interact with and test.
Reiterate in Cursor
Once we’re happy with the design concept, a developer joins the process using Cursor. Here we set up the environment, adjust the generated code, and review edge cases. This step is essential — not only for quality, but also to save credits in Bolt and ensure the final implementation matches the prototype.
At this point, both our internal team and the client review and approve the output before moving forward.
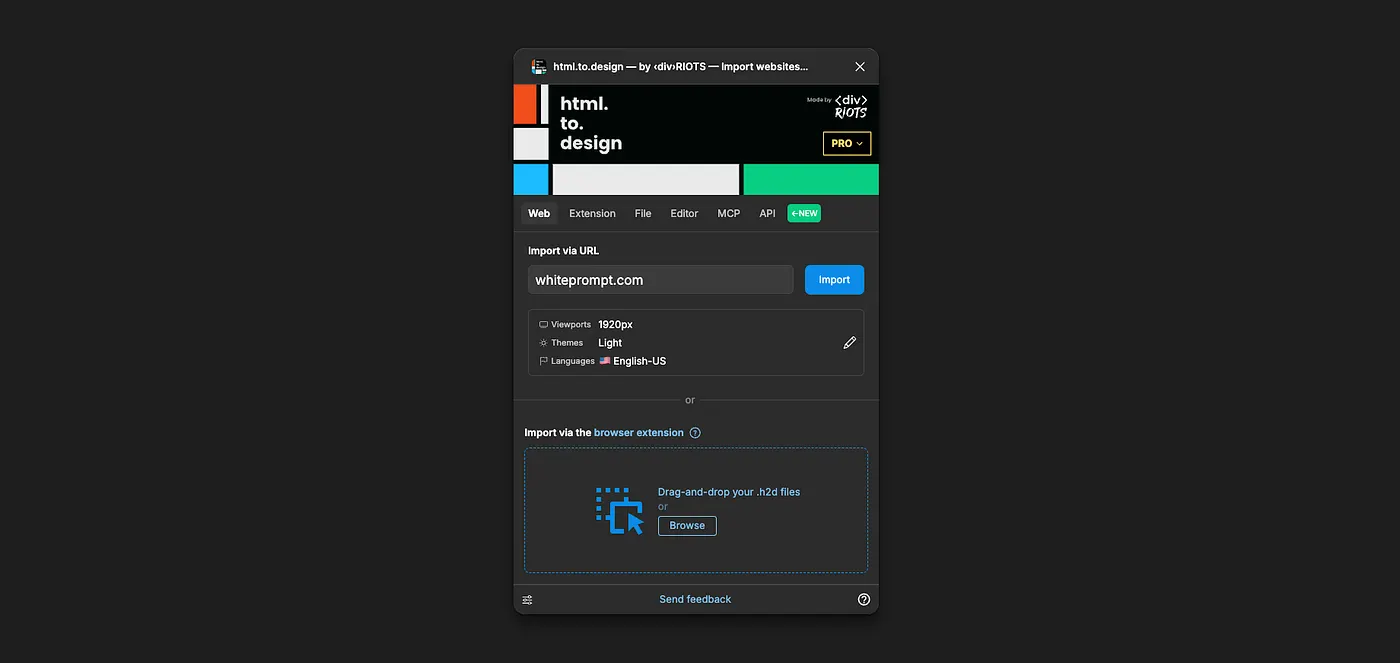
Figma Plugin
To bring everything back into our design environment, we use the “html.to.figma” plugin. This allows us to export the prototype into clean Figma screens — with Auto Layout, nested components, and even hover states ready to go.
Now, we can work inside Figma like we would in any design project, but starting from something already functional.
Fine Tuning / Manual Design / Apply Branding
Once the prototype lives inside Figma, it’s time for the human touch.We refine spacing, polish interactions, and make small UX improvements.Then we apply the client’s branding — colors, typography, tone, and mood.Our designers create icons, illustrations, and visual assets that give the product personality and coherence.
“This is the stage where design comes alive — where it stops being an AI experiment and becomes a crafted experience.__**”
Place Components in a Separate Page
Before handing off, we make sure all components are organized on their own Components Page in Figma. This is key for what comes next: the MCP-to-Code phase. By keeping components named, grouped, and versioned properly, we ensure the next step can read them accurately.
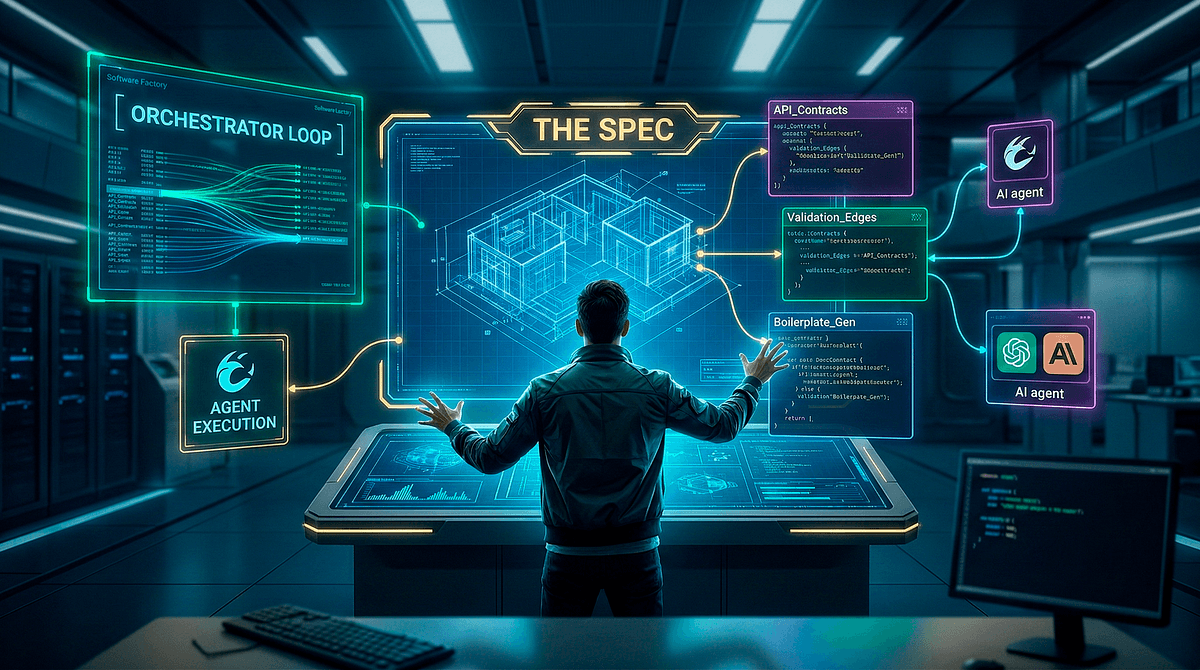
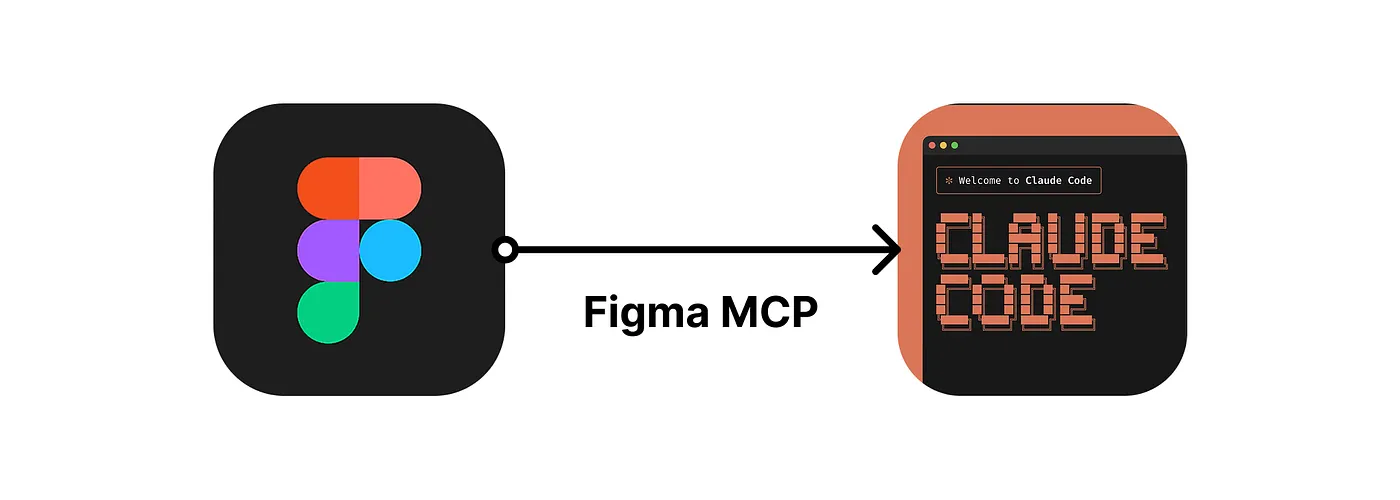
Figma MCP to Claude Code
Finally, we connect our design system to Claude Code through an MCP (Model Context Protocol). The MCP reads every element — components, variants, tokens, and constraints — and translates them into frontend code.
This is where everything comes full circle: what started as a client conversation now exists as a working application — built from design intelligence, AI tools, and human judgment combined.
Closing Thoughts
AI hasn’t replaced how we design — it’s changed where we spend our energy. Instead of redrawing buttons or duplicating screens, we can focus on the creative and strategic side: asking the right questions, shaping the experience, and building real products faster than ever.
And that’s the point of From Idea to MVP in 8 Weeks — not just speed for its own sake, but clarity, iteration, and the joy of turning ideas into something real.